lute_pegbox

Veneering a Lute Pegbox

Baroque Lute

Adding veneer to a pegbox can really add visual appeal to an instrument. A lot of planning and time is needed for the finished product to turn out well. By the time you are at the point of veneering the pegbox, you should already have the neck veneer with the same pattern all finished up and ready to continue into the pegbox. If your lines aren’t straight, they will not line up to the end of the pegbox correctly. You also must accommodate for matching up the neck pattern to the pegbox and follow the lines exactly.


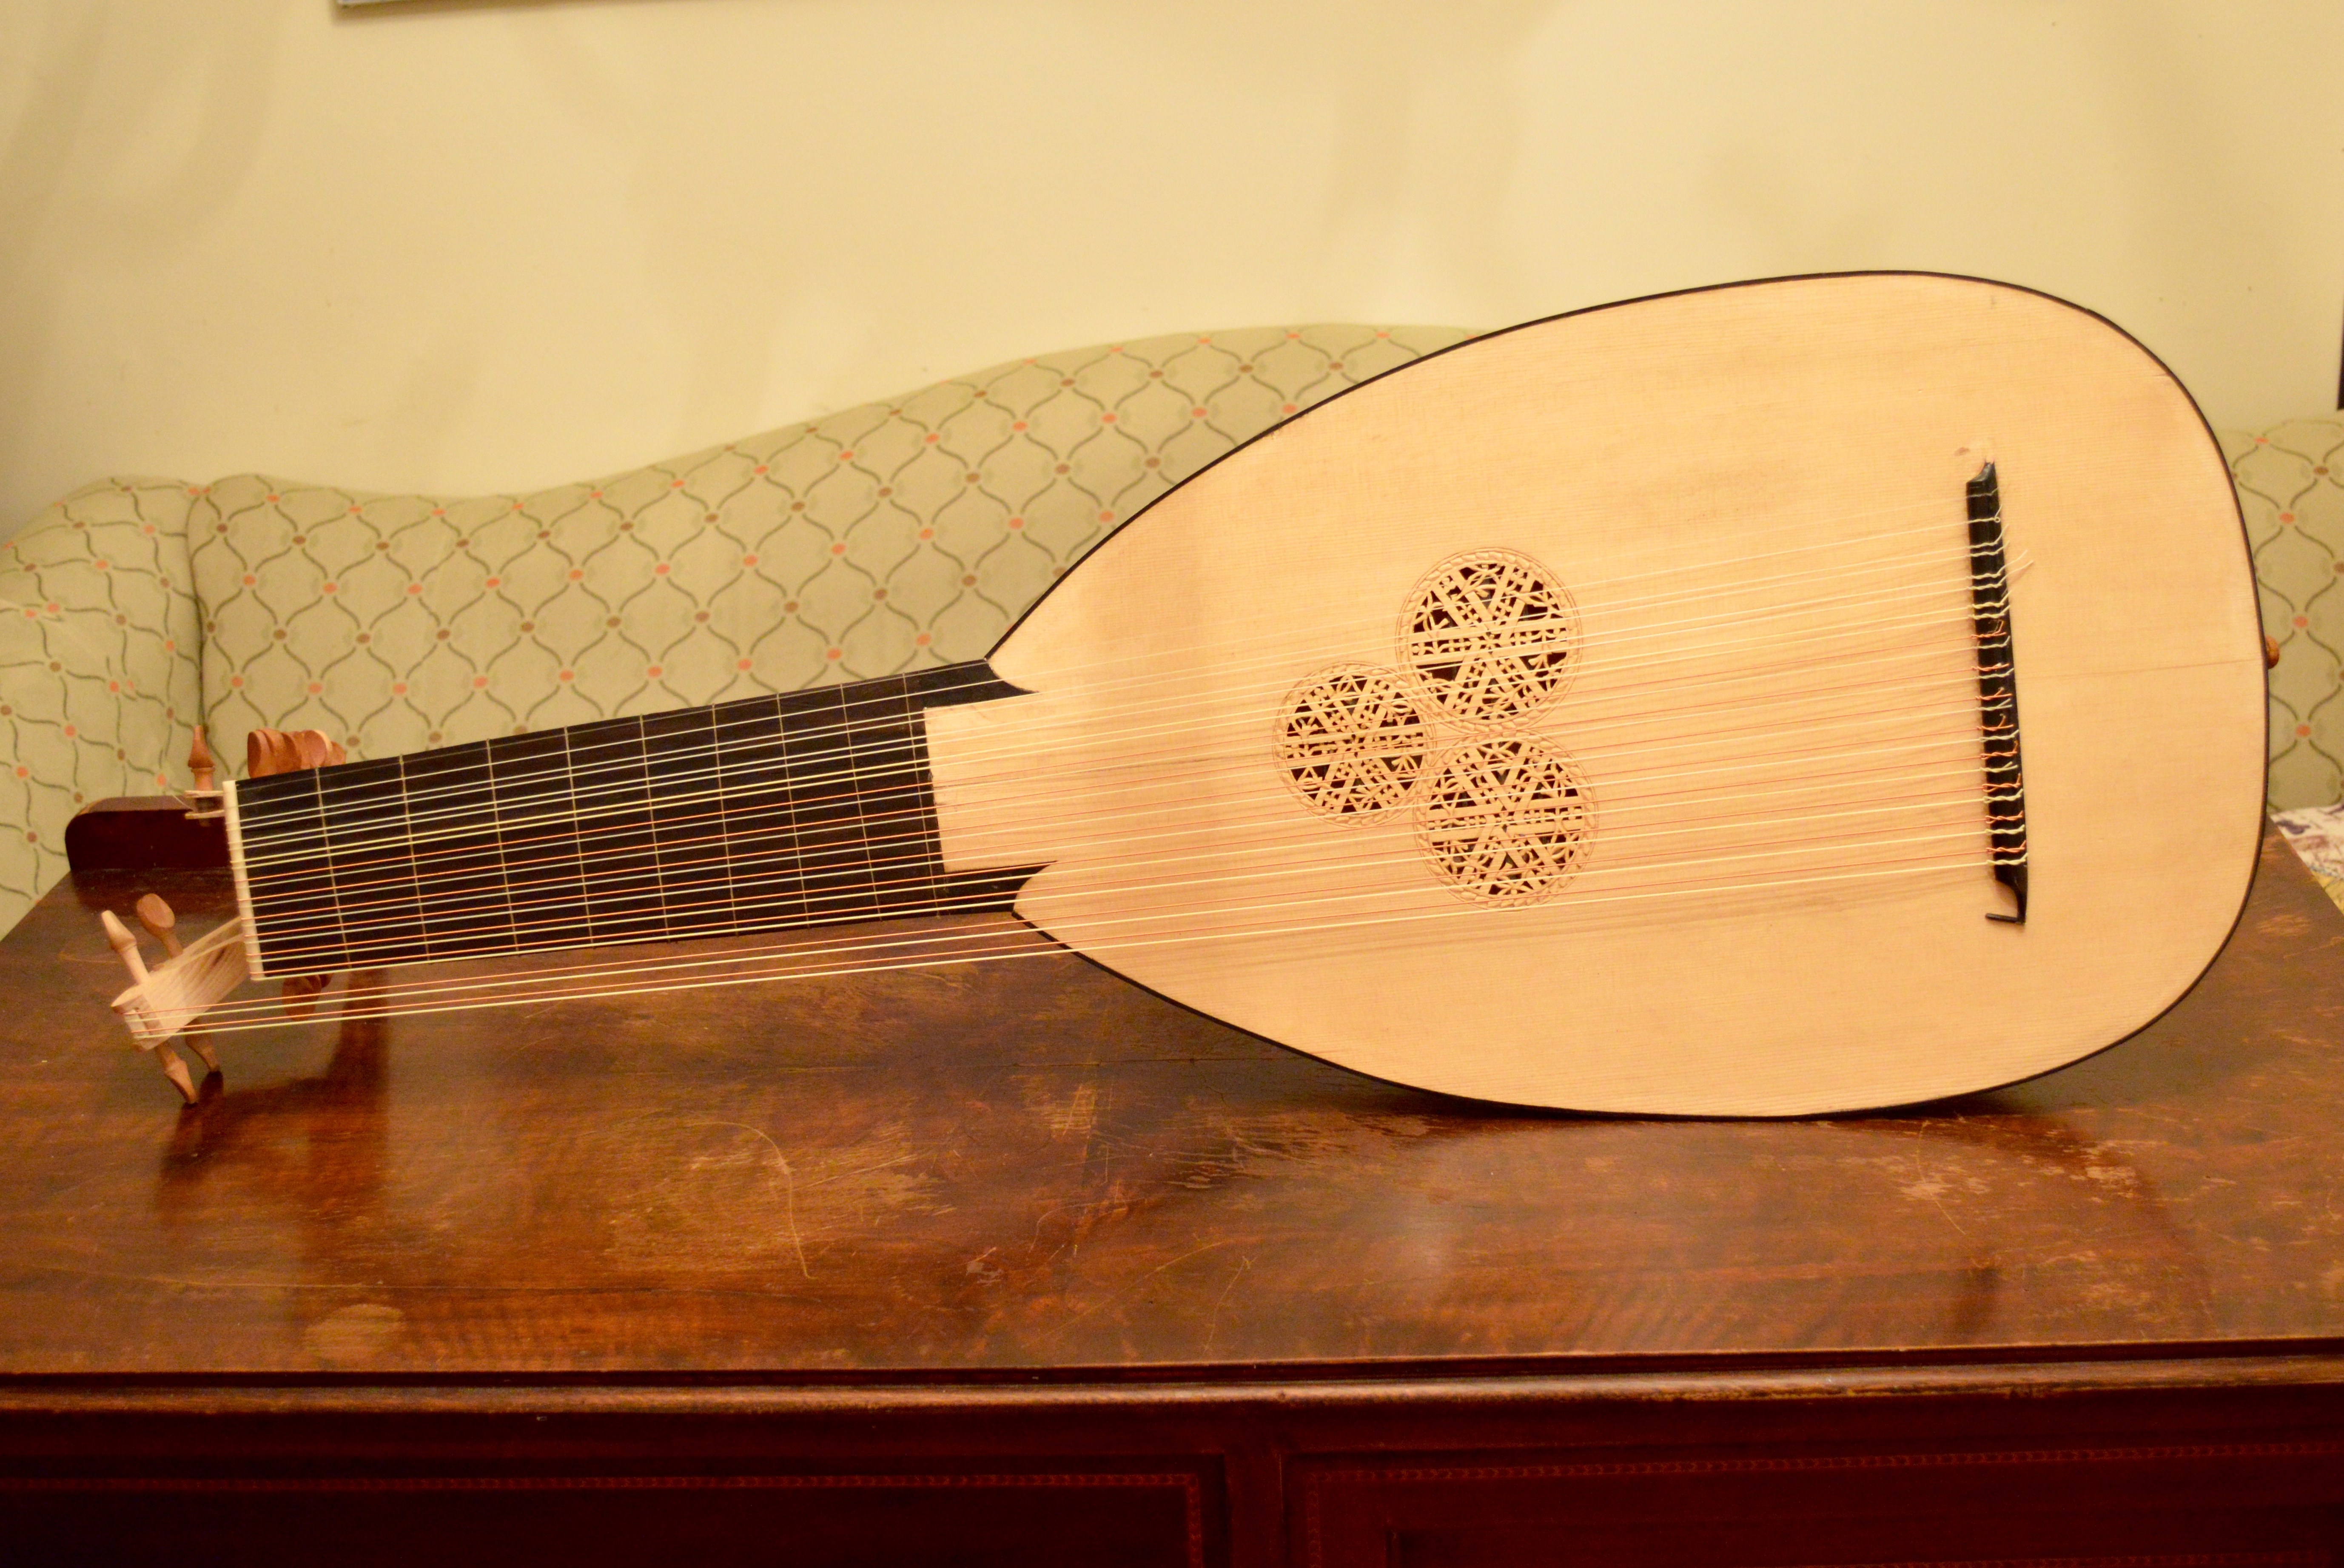
This example is from an 11-course lute I am finishing up. The neck veneer is ebony and snakewood with small holly highlights around the major lines. I am very happy with the design and I think it adds an elegance to the instrument that makes it worth all the time and work invested.

German Lute Guitar Repair

Repair

Just finished fixing the bridge on this really cool German Lute Guitar. The owner and I were discussing a complete overhaul including changing the bracing to sound more like a traditional lute. We decided against that since the instrument is still in such good shape. The bridge needed some cracks repaired though, so now it is back in operation.

Stradivari Baroque Guitar Plans

baroque guitar, guitar


I am selling the plans I made for the Stradivari Baroque Guitar. They are mostly based off of the Sabionari guitar from 1679. I detail some of the aspects of tone and give string dimensions and sources for materials as well. Let me know if you are interested by filling out the form below.

Digital Copy: $30

Printed Copy: $50

Spanish Classical Guitar Progress

classical guitar, guitar

Making progress on my classical guitar build. At the “in the white stage” where everything is scraped and ready for shellac. Top is Carpathian Spruce and the back and sides is a very green set of Bocote. I managed a good display of the gorgeous sapwood on the back. Overall the back and sides turned out very interesting.

Stradivari Baroque Guitar

Uncategorized

New project! Getting close to completion on a copy of the Stradivari Sabionari Baroque Guitar. I created my own plan of the instrument based on measurements, thicknesses and photos of the original. Can’t wait to listen to the finished product! Still have a ways to go. The final details are so crucial and time consuming. I will keep you updated on the progress.

13-Course Baroque Lute Bowl in Maple

Uncategorized

DSC_0002 DSC_0003 DSC_0004

Here is the bowl pretty much finished. I will double check the surface for glue residue before continuing. The counter cap of spruce will be glued on the inside bottom of the bowl for extra support. I think the inside view of the bowl with the paper glued in-between ribs is one of my favorite aspects of lute building. I really like the pattern and contrast it creates.

Coloring wood for depth of finish

Uncategorized

DSC_0023 gligamaestrowhite

I am working on the right pigment for coloring the maple wood bowl on the 13-course lute. The top picture is the difference between the natural blonde color of maple and what it looks like after pigment is applied. Most luthiers color their instruments in the finishing stage. I posted a picture of a violin “in the white” below to show what a violin looks like before being finished and deepened with color. Notice how the sample that I colored above has a much more distinct curly pattern. These are both from the same piece of wood. Some recipes for violin varnish require the addition of iron oxide to the varnish to make the deep red we so commonly see on these instruments. Iron oxide is part of the pigment that I put on the piece of maple pictured above. Iron oxide (also known as rust) can give a beautiful depth to a finished instrument.

Beginning of 13 Course Lute Bowl in Maple

Uncategorized

DSC_0011 DSC_0012

Here is the beginning of the construction of an eleven ribbed lute bowl in maple. It begins life as a thin slat of wood that is carefully planed down and then bent to the shape of the wooden mould. The ribs are fitted one by one trimming and refining until all the edges meet cleanly for a fit that conforms to the shape of the mould and the rib next to it. The bowl has an ugly look now, very unrefined with glue on it and untrimmed edges on the front; that will all be cleaned up later.