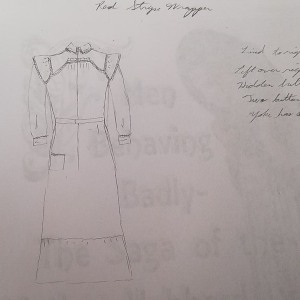
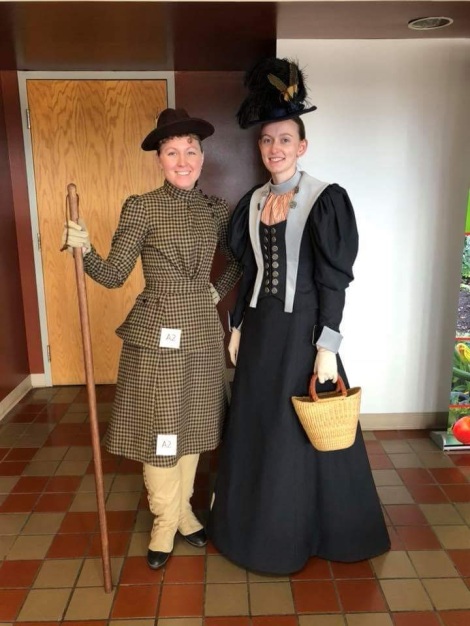
Blacksmithing in an 1890s Wool Dress
This past January, I attended the joint ALHFAM/TLHA conference in Grapevine, Texas. The conference was primarily a skills and trades exposition, with classes and workshops on various historical skills. Among the other things there– including teaching a few classes myself– I took an all-day blacksmithing class.
While it may seem odd to many people on the outside of this organization, it is a tradition to take historic trades classes in historical work wear. Usually the men are the ones who follow this tradition the most, but some women do. I decided that this year I wanted to be one of those women. I chose the blacksmithing class because my husband, Philip, is a blacksmith, and there are times he wants or needs my help in the forge, while I have no idea what I’m doing. At the same time, I felt that having Philip try to teach me would end… badly.
Last fall, while my friend Marna was researching aprons, she found a reference to a lady blacksmith in an 1879 newspaper. She shared it with me at the time, and it planted a seed about a wool dress.
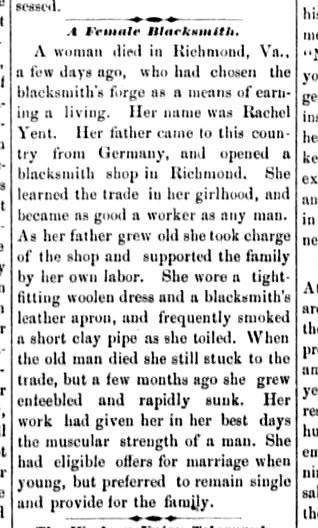
Newspaper, 1879
So, once I decided to take the blacksmithing class, it remained to make the dress in preparation. I decided to make an early 1890s dress rather than one from the 1870s, as I mostly work in 1890s Railroad Town at Stuhr. Marna, of course, had a fantastic wool work dress in her personal collection, and sent me a picture to help with inspiration.

1880s Wool Work Dress
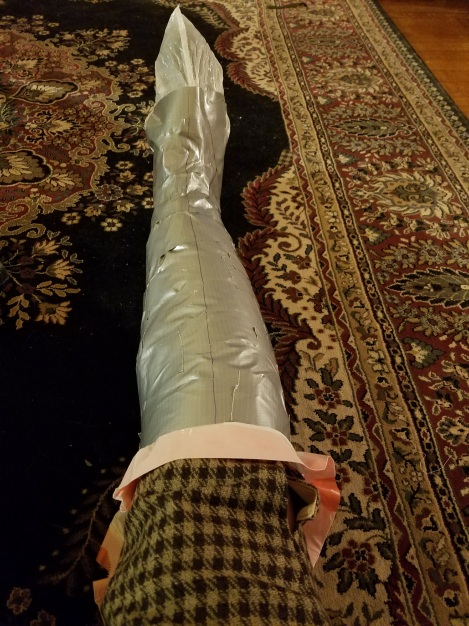
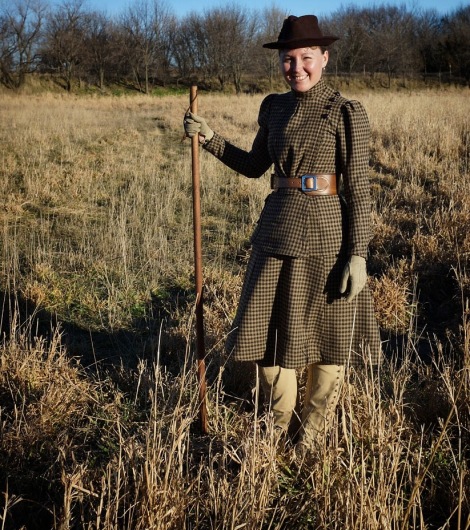
With this very basic style in mind, I made a plan. I was fortunate enough to find black wool denim on Fashion Fabrics for only $5 a yard, which is insanely cheap. I ordered enough in to make a pair of pants, vest, and jacket for Philip, and a dress for myself. When it arrived, it was VERY heavy. The 8 yard length weighed about 9 pounds. Well, then. I determined that I would need about 3 yards total for the dress, so that’s a little over 3 pounds. Plus lining.
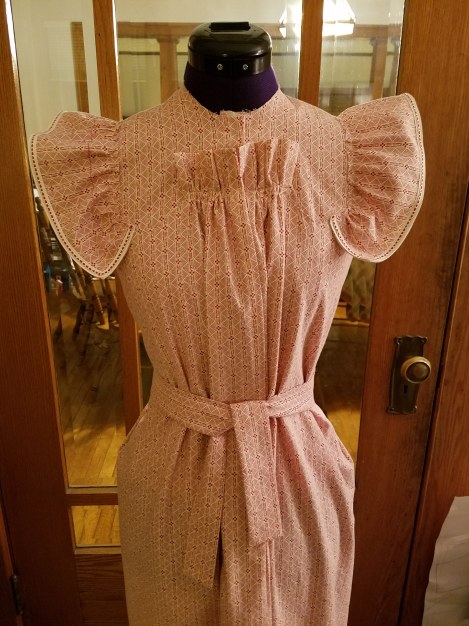
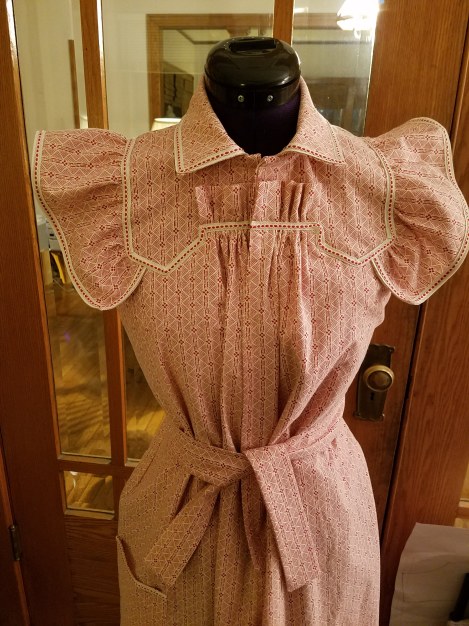
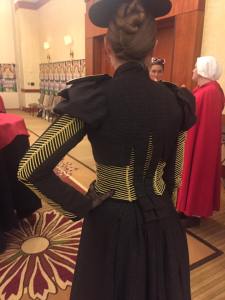
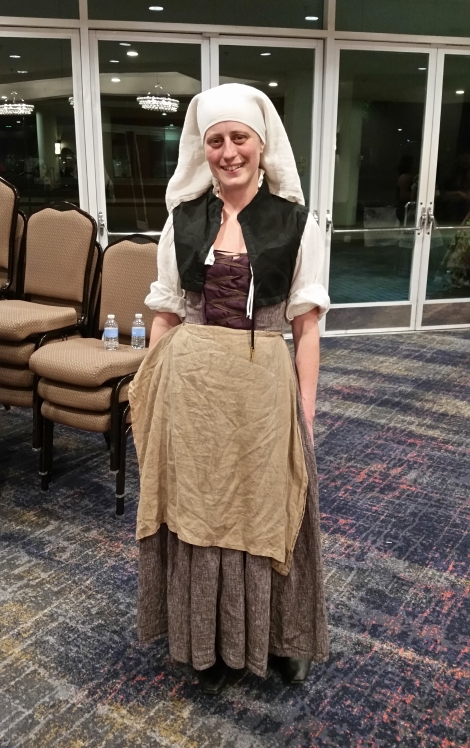
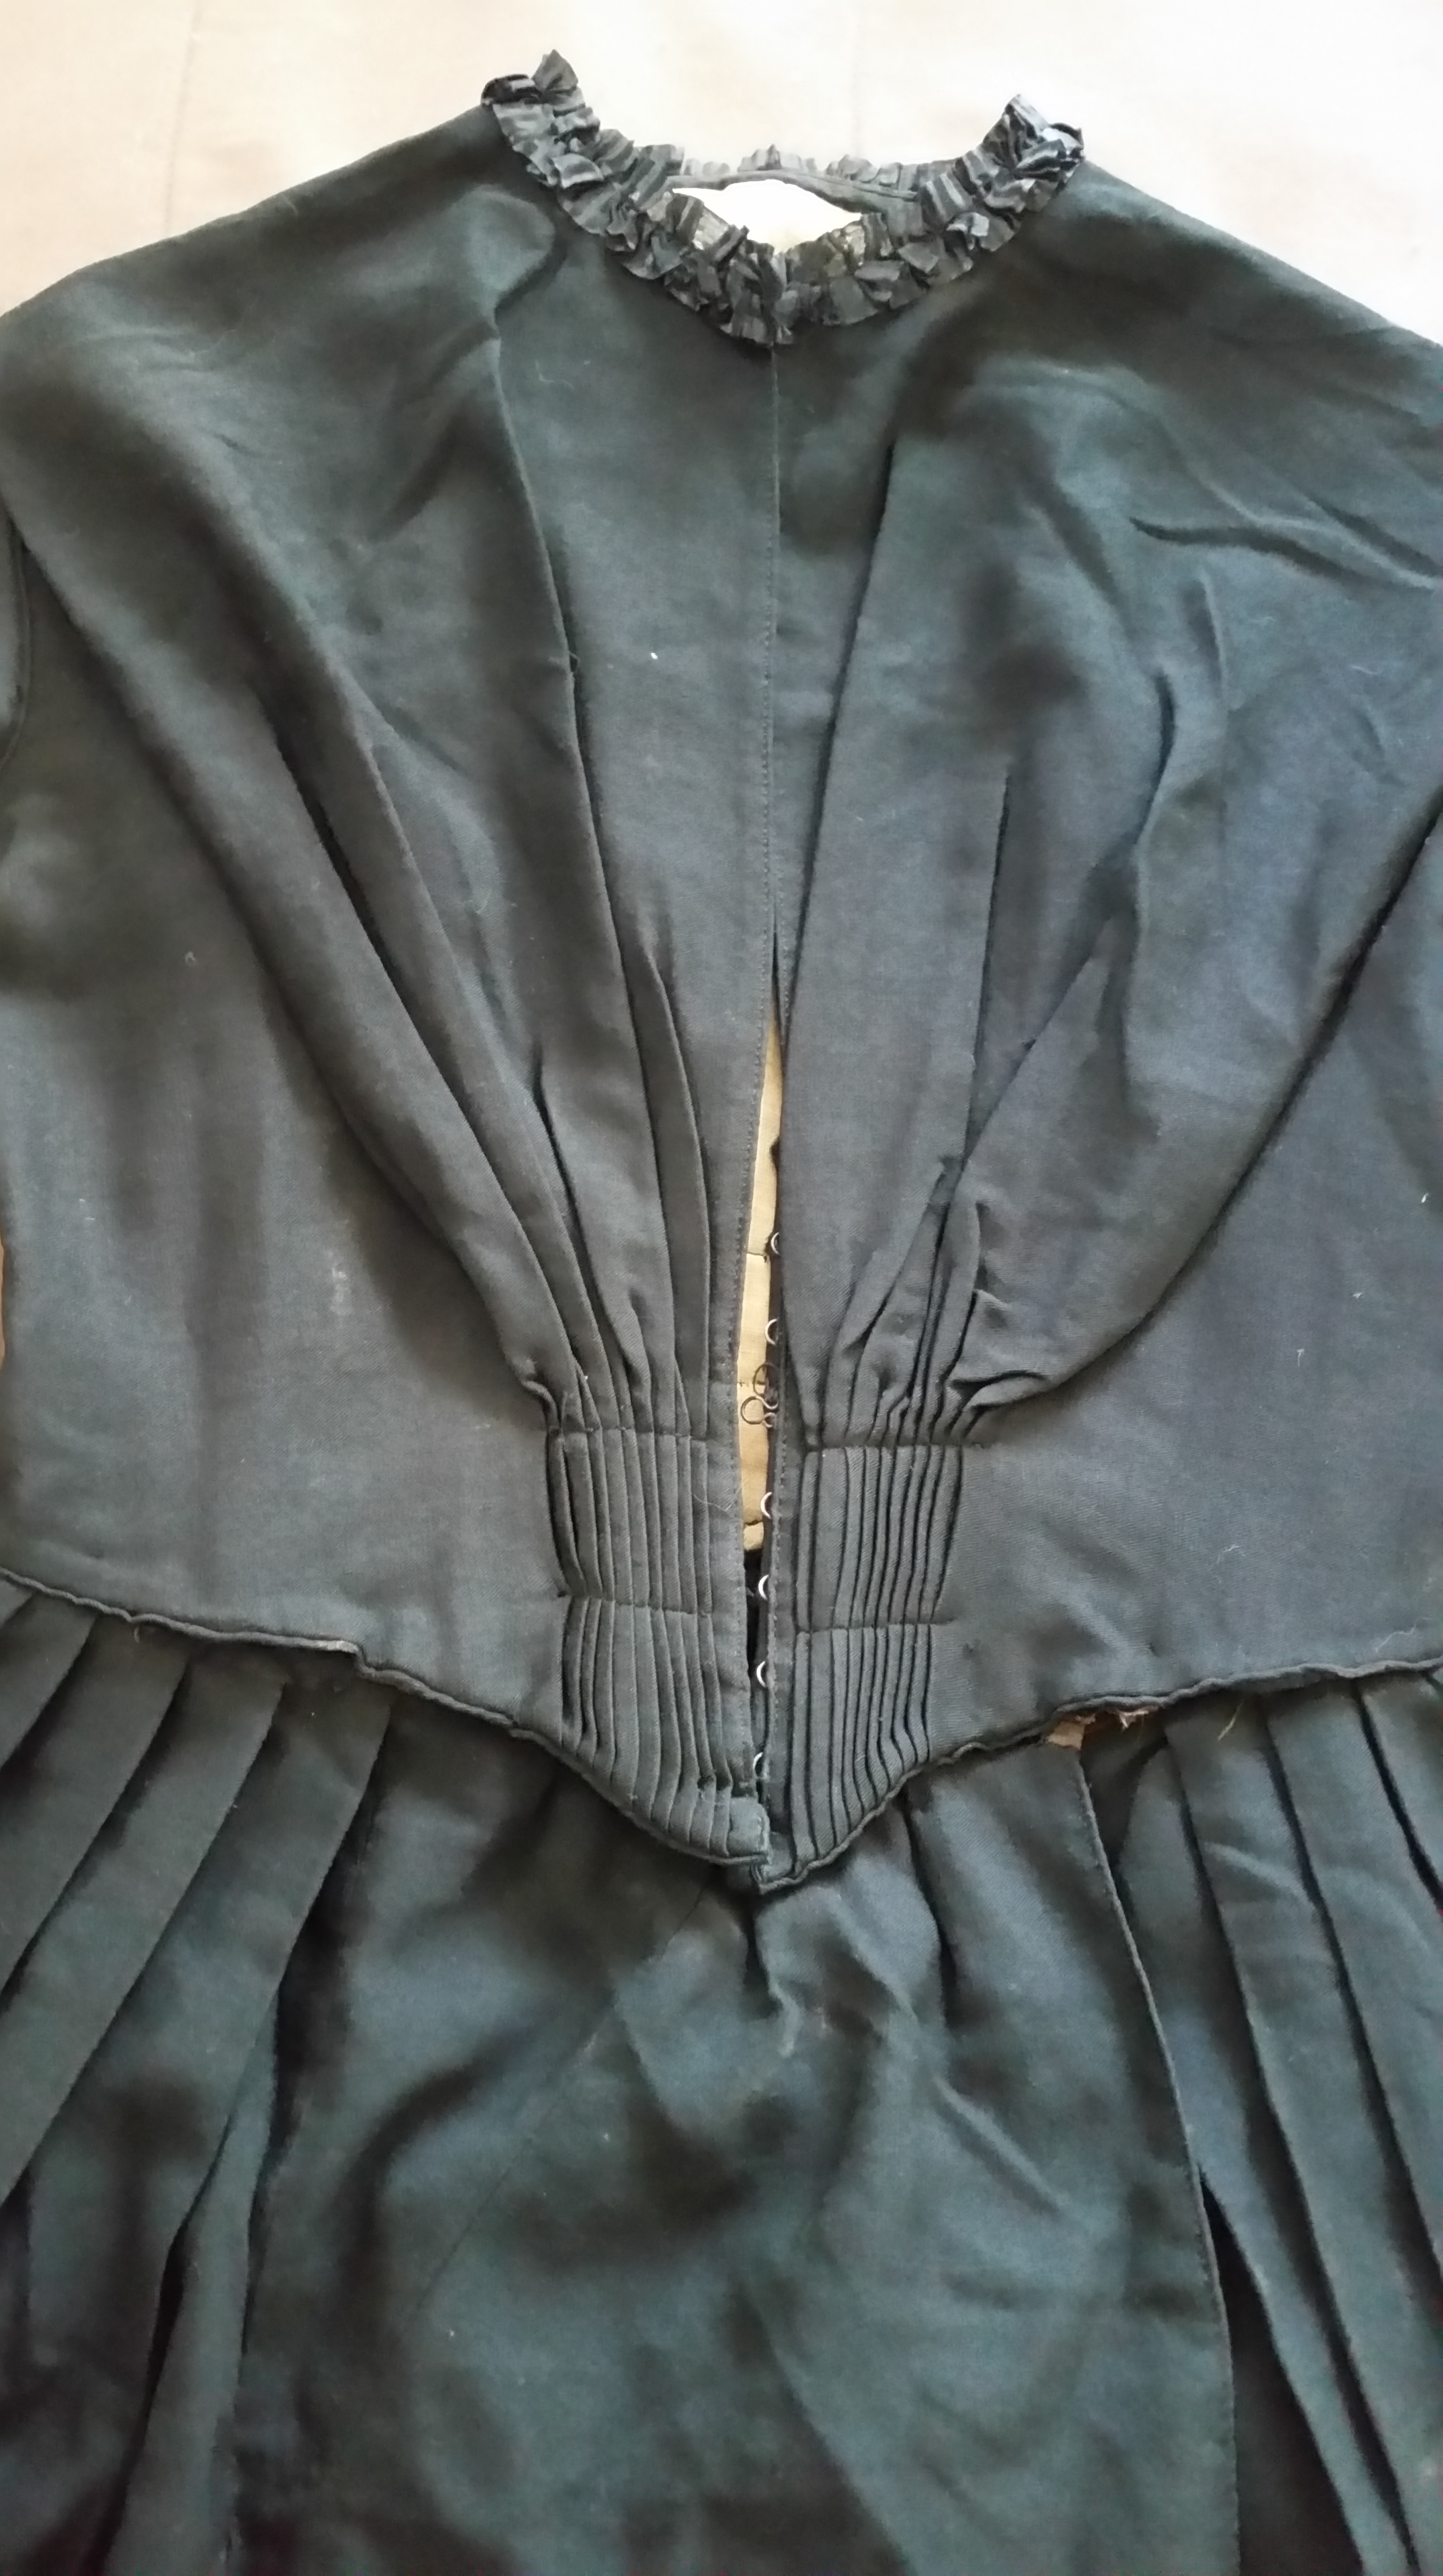
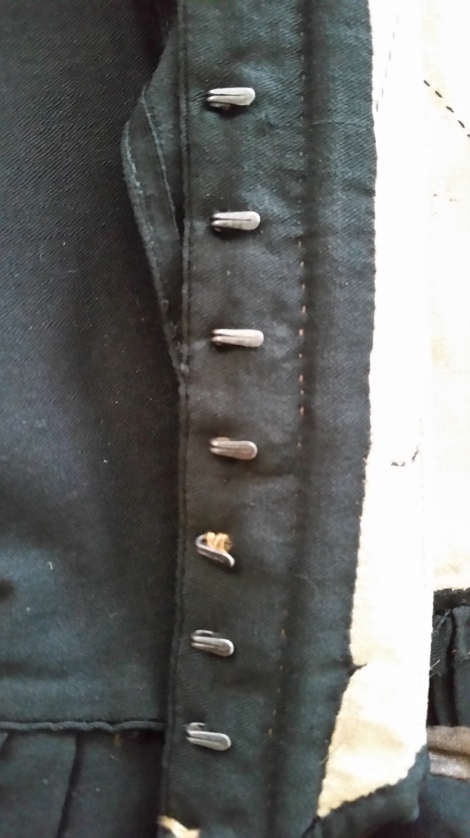
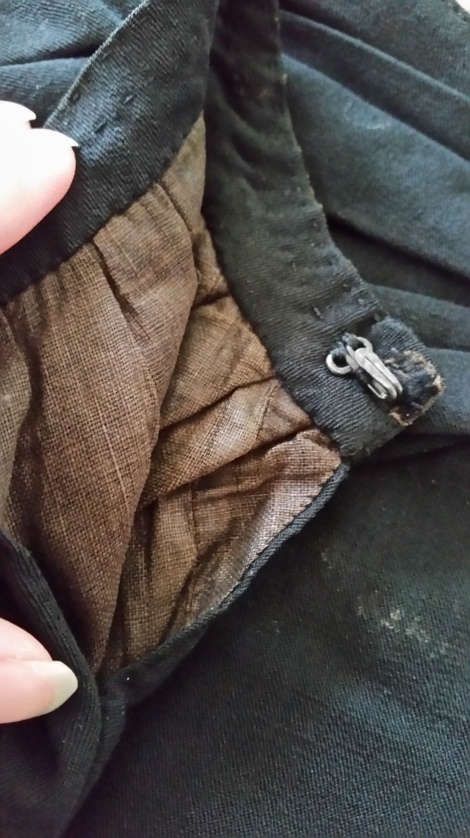
I drafted my basic pattern from my slopers, lengthening the shoulders just a smidge to an earlier sleeve to suit the early 1890’s and the less full sleeve I planned to use. The bodice has the standard pieces of a late Victorian bodice, with back, side back, side, and front pieces (with two darts). The sleeves are a slim two piece sleeve, with the outer piece lengthened right at the elbow and then gathered in, to give more range of motion while working. I used a short standing collar, rather than a roll collar, which would be bulky and not work well with the heavy wool. The bodice is lined with heavy unbleached linen, and the sleeves with a lighter weight dark brown linen. (It reminded me of the old dark polished cotton.)
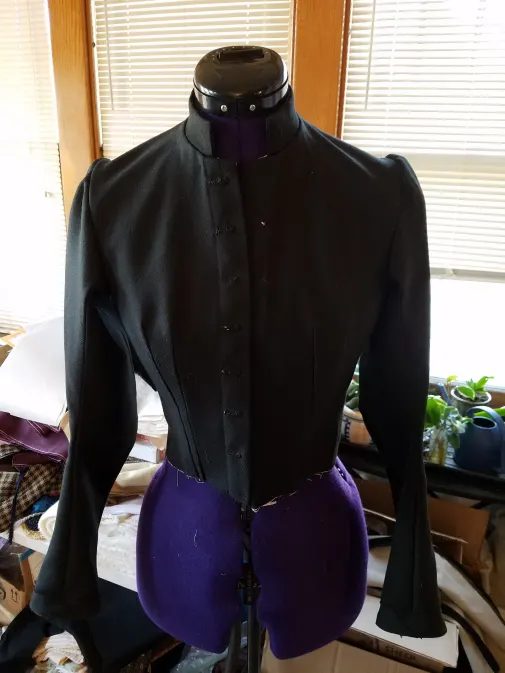
1890s Wool Work Dress Bodice
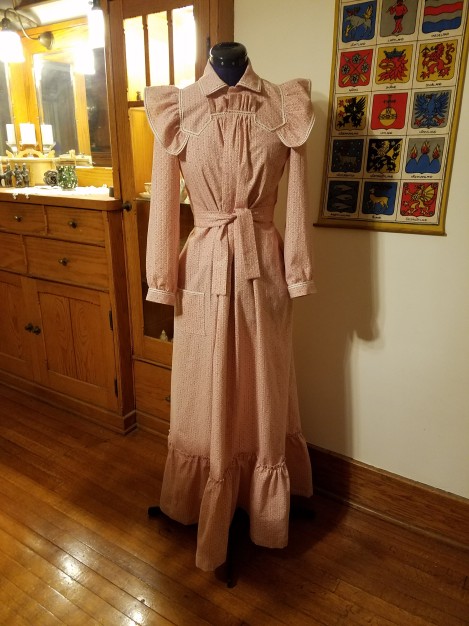
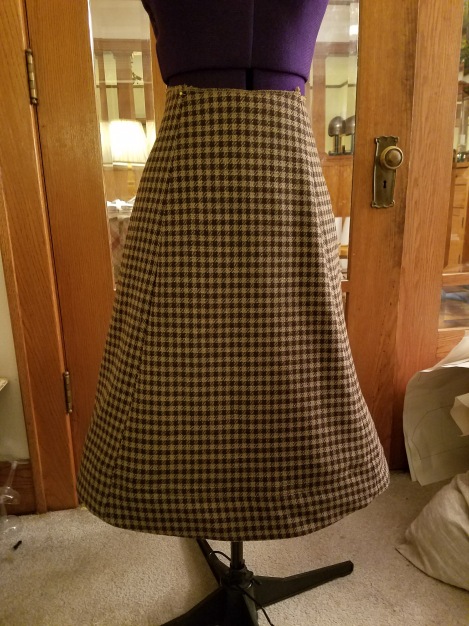
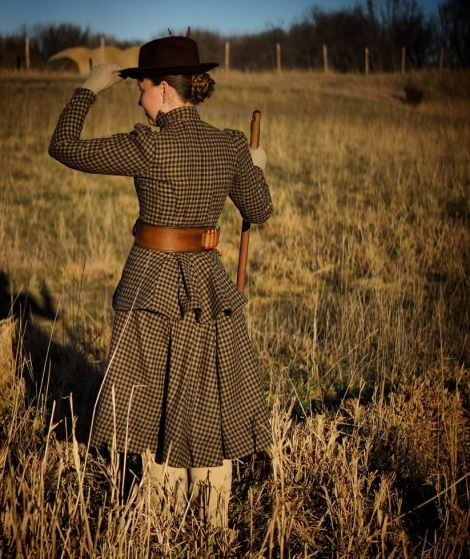
The next step was the skirt. I had decided early on to use one and a half breadths of the 60″ wide wool to make the skirt, and to pleat it in with a dog-leg closure. I trimmed it down a bit shorter in front at the top edge to allow for the skirt to hang more level over my hips and petticoats in back. (Much more common to deal with the length at the top edge of a skirt than the bottom at the time. Makes hemming and facing easier.)
Of course, I ended up with a lot more pleats in back than front, which gives it just a bit of a folk clothing vibe. Practical clothing for practical people. I also put a really nice large pocket in the right side seam of the skirt. I faced the hem with 4-inch wide black bias cut cotton twill, which is my go-to for hems and facings. The buttonholes are hand-sewn with black silk buttonhole twist, and the buttons are antique black china buttons. I also finished the armscye seam, once trimmed down, with a blanket stitch of the black buttonhole twist.
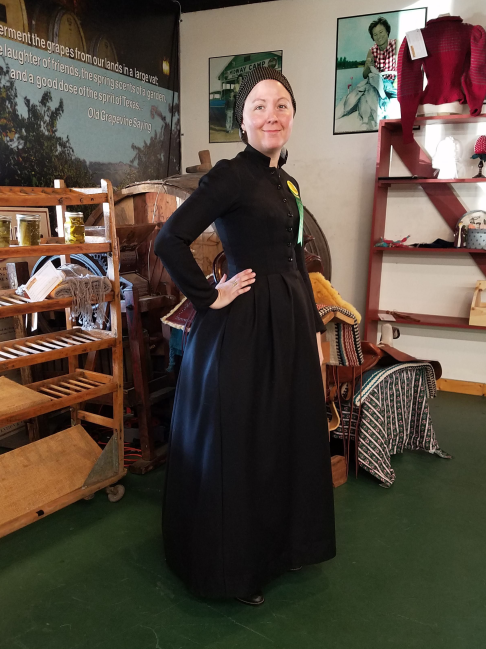
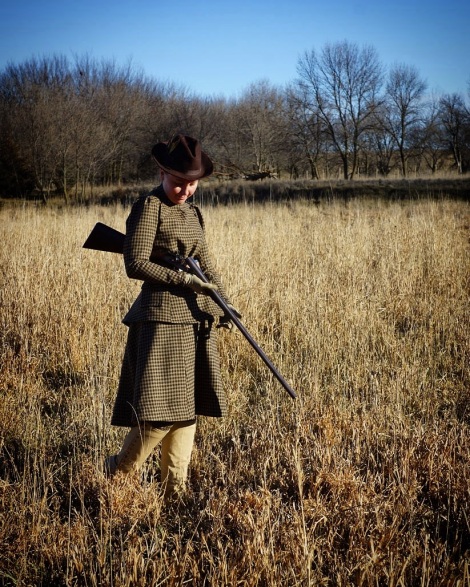
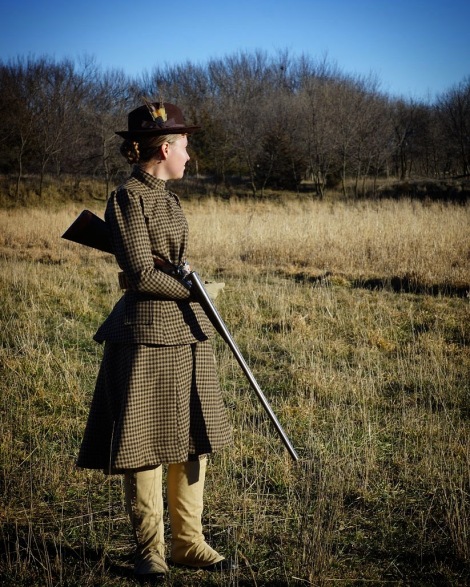
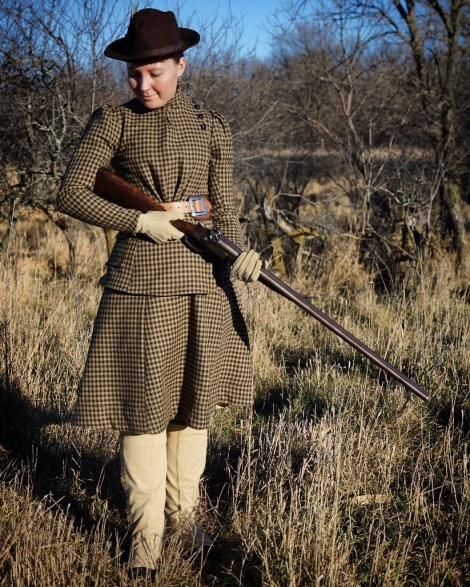
1890s Wool Work Dress– I am young and full of hope.
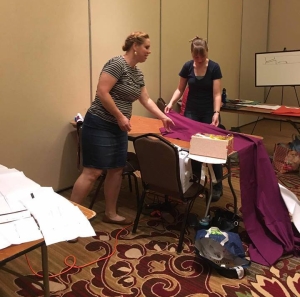
The conference arrived, and the morning of the blacksmithing workshop was the first time I had actually tried this dress on fully. I knew it would fit, since I had used my slopers, but there was some faith involved. –And a buttonhook, since my buttonholes were still relatively tight!
With the wool dress, I wore my batiste combination (because what if it’s hot in the forge?), old corded work corset, my grey flannel petticoat (because it was cold that morning), a basic tucked poplin petticoat, and of course stockings and my old work boots. I don’t believe I ever buttoned the top button of the bodice.
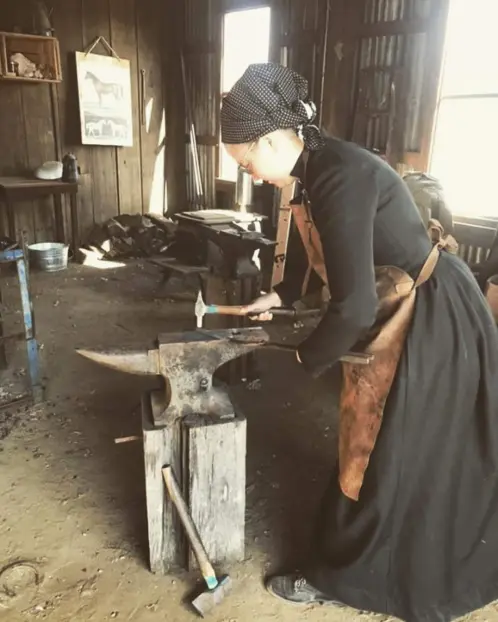
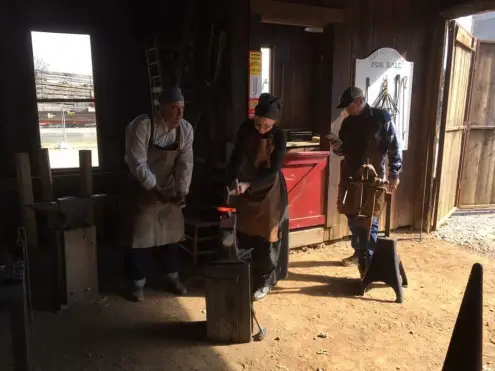
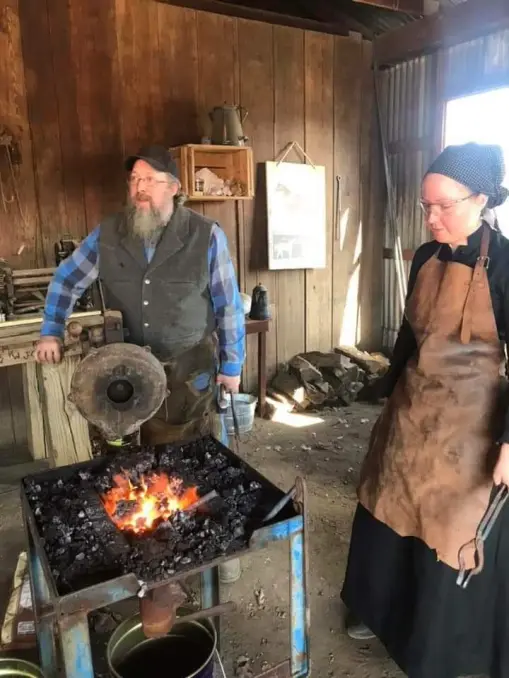
Blacksmithing is FUN. I learned so much in that class, about types of steel, and how to build a coal fire in a forge, and how to work properly with a hammer. I am fairly weak, so had a small light hammer, which made things take longer than they should have.

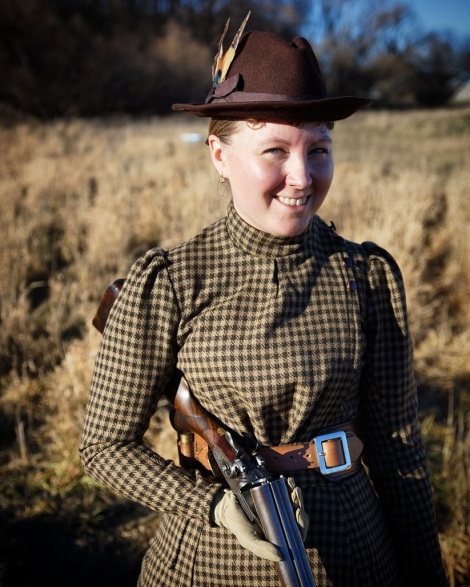
Blacksmith Like A Girl!
We worked on making a hot chisel and a snowball hammer. A snowball hammer is used to knock snow off horse hooves in winter, and has a pick end. I did not finish mine, and will need to finish it with Philip’s help.
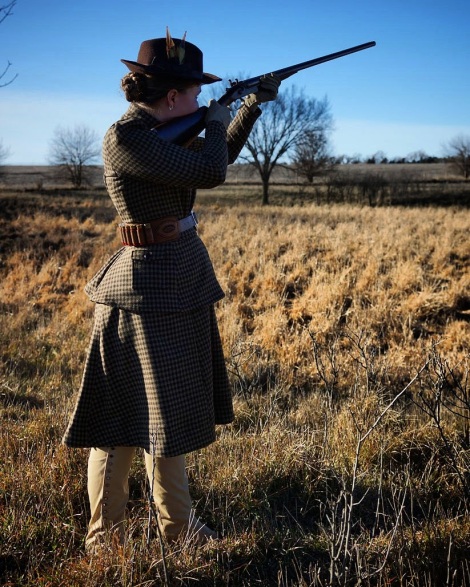
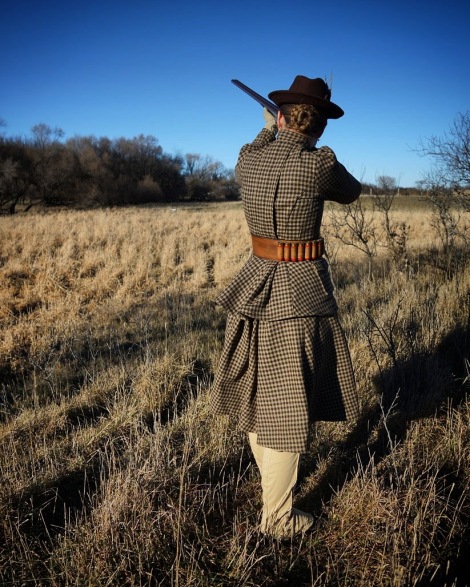
Strike While the Iron is Hot!
Hit it Like You Live!
“Just a Few More Heats”
As for smithing in this dress, I didn’t feel constrained or hampered by this dress at all. It was comfortable, easy to move in, not too hot, and felt very protective. It was cold in the forge, so I was glad of my flannel petticoat, and wished I had worn my wool stockings rather than cotton, because my toes were cold by the end of the day! The type of wool in this dress, being a smooth dense wool, is not very insulating, so my dress was not very warm. As I tired by the end of the day, I was very glad for the support of my corset. The worst was the squeezing on my head from my safety glasses, which gave me a bit of a headache.
I also got really sooty, of course, and I did scorch a hole in my skirt. Oh well, nice patches are very historical, so eventually I’ll get around to mending it. Luckily, since it is wool, I didn’t go up in flames!
Most of the photos in this post are taken by Derrick Birdsall, who was my forge and anvil buddy. Many thanks to him, and to my excellent teacher, Kelly Kring.
Now, I just need it to warm up a bit here so I can get to work finishing my hammer in Philip’s forge! As always, feel free to post your comments and questions below!