Thursday, May 30, 2024

How to change the output trays for a Ricoh Aficio MP 5500 copier

printer keypad

A typical Ricoh Aficio MP 5500 copier (as well as the other copiers in the series -- the MP 6500 and MP 7500) has two options for paper output -- the finisher upper tray and the finisher shift tray.  Some MP 5500s are purchased without finishers; for these machines the only option for paper output is the plastic copy tray that hangs off the left side of the copier.

For stapled, sorted, or stacked jobs, the paper must exit out of the finisher shift tray, because of the paper path.  However, for other copy jobs -- and for jobs printed from a computer or from the document server -- the user can specify which tray they want the paper to be sent to.

When the MP 5500 is first set up, the output trays are not designated, and all output (except for stapled or collated jobs) defaults to the finisher upper tray (if a finisher is installed).  If you had previously designated output trays and then for some reason you disconnected the finisher and turned the copier on, the output tray selections would be erased, and you would have to re-enter them.

The output trays can be set up or changed through the copier's configuration settings.  To get to the output tray selections, press the User Tools/Counter button (to the left of the display) and then on the touch screen select System Settings.  The first tab is "General Features" (it should be the active one) and on the right side of the screen you should see options labeled "Output: Copier" and "Output: Document Server."  (If you have the print function installed, you'll also see an option for "Output: Printer.")

Pressing any of these choices will bring up the tray selection for that function.  If your copier doesn't have a finisher, "Copy Tray" will be the only option you can choose.  If the copier does have a finisher, you'll see options for "Finisher Upper Tray" and "Finisher Shift Tray," and "Copy Tray" will be grayed out.

To make a selection for one or more of the functions, choose that function, press the appropriate choice for the output tray that you want to use, and then press OK.  You can have all of the functions output to the same tray, or you can set the trays up any way you want.

You can use the same process to change output trays on other similar families of Ricoh copiers -- the 2051/2060/2075 series and the MP 6000/7000/8000 series, among others.  You can change the output trays any time you want, except when the copier is in the middle of a job; it won't let you into the System Settings screen while it's running.  Some error codes will also prevent you from accessing System Settings.

(Originally posted on Helium.com, 2010)
(Image by Crea Park from Pixabay)

Tuesday, May 21, 2024

How to change the hole punch mode on a Ricoh Aficio 2075 copier

faceless person using a photocopier

The Ricoh Aficio 2075 copier, when used with a finisher that has a punch unit installed, can make hole punched copies with either two or three holes.  To choose the hole punch option (assuming the punch unit has already been installed) just click the Punch icon on the lower right corner of the Copy screen before making your copies.

However, even though the punch unit is capable of punching either two or three holes, it is not always set up to do both.  Some users may not even be aware that it has that ability.  You can change the punch mode from three holes to two holes, or vice versa, or enable both modes, from within the copier's User Tools.  (This article also applies to the Ricoh Aficio 2051 and Aficio 2060 copiers.)

To change the punch mode, click the User Tools button on the operation panel.  On the menu that appears on the touch screen, select Copier/Document Server Features.  Go to the Input/Output tab, and scroll down to the next page (page 2 of 2).  Touch the button on the left side of the screen labeled Select Punch Type.

You'll see two different buttons appear -- one for two-hole punch and one for three-hole punch.  You can select either one of these, or both of them; the option or options that are highlighted will be enabled.  You can also de-select both options if you don't want the hole punch option to appear on the main Copy screen.

Once you've made your selection and pressed OK, exit out of the User Tools menu and go back to the Copy screen to verify that the changes were saved.  If you've only enabled one of the two hole punch modes, the mode that you selected -- either two- or three-hole punch -- should appear under the Punch section of the screen.  If you selected both modes, only one will show up on the main screen, but when you touch the Punch button, both options will pop up and you can choose the one you want.

Note that not all paper types and orientations will work with both hole punch modes.  For example, you can't use three-hole punch mode when copying onto legal-sized (8.5" x 14") paper, because there is not enough room on the paper for all three holes.  If the paper size you're using and the punch mode you've chosen are incompatible, a message will flash across the screen and you'll have to make another selection.

(Originally posted on Helium.com, 2010)
(Image by Peggy und Marco Lachmann-Anke from Pixabay)

Monday, May 20, 2024

Tools for basic DIY home electrical repair

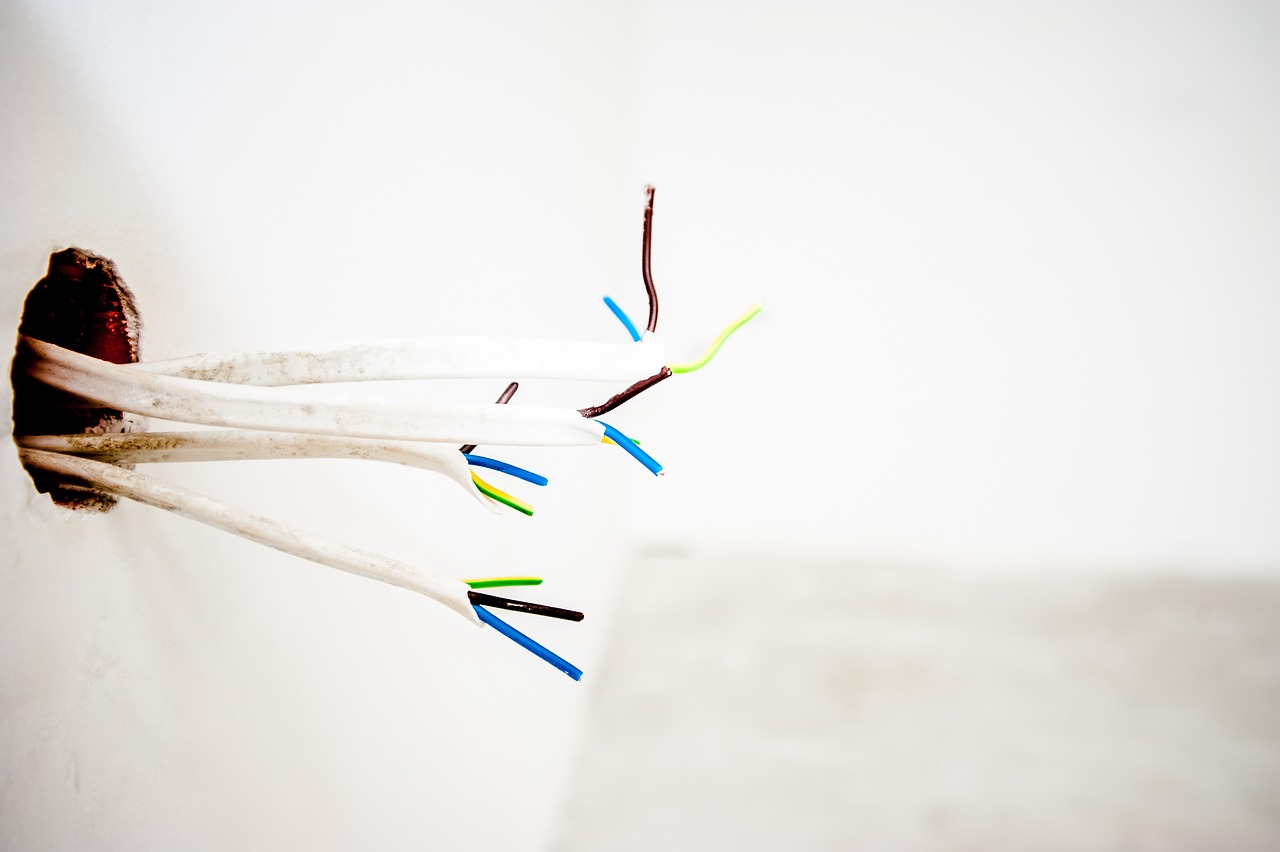
electrical wires protruding from wall

Most homeowners probably have a sufficient toolbox or toolkit for many of the jobs they need to do around the house.  However, for electrical repairs, there are certain tools you should always keep around.  You may already have some of these tools, but if not and you plan to do any basic electrical work, you should consider investing in them.

- Screwdrivers

If you don't already have a good pair of flathead and Phillips screwdrivers, buy one now.  If possible, get a driver set that comes with multiple-sized bits of both types, because you'll find screws of varying sizes all over your house.  Depending on your price range and what you like, you might want to consider magnetic screwdrivers or ratcheting screwdrivers.

- Wire cutters

A pair of wire cutters is useful for exactly what you'd think: cutting wires.  They can also be used to cut plastic clamps or clips, or -- used carefully -- to strip wire or cable insulation.  Get a pair with rubber handles.

- Needle nose pliers

A small pair of needle nose pliers comes in handy for bending wire, gripping cables, securing clips, and many other things.  Like with the wire cutters, you'll want pliers with rubber handles.  Some people prefer spring-loaded needle nose pliers, while others like them better without any spring action between the handles.

- Electrical tape

Electrical tape can be used for many things, and is nice to have in your toolbag because you never know when you'll need it.  Electrical tape is useful for covering exposed wires, securing wires or cables to each other or to another surface, and even for creating a makeshift bandage (along with a paper towel or napkin) when you just want to stop the bleeding but don't want to stop working.  Be careful when using electrical tape anywhere heat might be a factor, because it tends to stretch or expand and lose some of its adhesiveness when exposed to heat.

- Outlet tester

You can buy a decent outlet tester for just a few bucks, and they are great for checking power at an electrical outlet.  Just plug the tester in and you can find out if the outlet has power or not.  Many testers will even give you more information, such as whether the outlet is wired correctly or not.  A multimeter (see below) can be substituted for an outlet tester, but an outlet tester is quicker and easier.

- Multimeter

A multimeter is a must for anything but light electrical work.  Similarly to how an outlet tester can tell you whether or not an outlet is getting power before you take it apart, a multimeter can be used to test the current or voltage to any electrical device or component, including wires and cables.  A multimeter can allow you to make sure power has been cut to an electrical device before you handle it, and it can also tell you whether the device is getting the correct voltage, or whether a fuse is good or bad.


(Originally posted on Helium.com, 2013)

(Image by Michal Jarmoluk from Pixabay)

Saturday, May 18, 2024

How to change the paper type on a Ricoh Aficio MP 3500

stack of white paper

People use all sorts of paper in their photocopiers, from super-thin, almost see-through paper to heavy-duty cardstock and transparency sheets.  Unfortunately, when you load a new kind of paper in the copier's paper tray or paper bank, it doesn't automatically know how thick, how rigid, or how smooth that paper is.  When you use anything other than ordinary copy paper or multipurpose paper, you should make sure to set the paper type in the copier's settings, for maximum performance and operation.

To set the paper type on a Ricoh Aficio MP 3500 or MP 4500 multifunction device, press the User Tools/Counter button on the copier's operation panel.  Then, on the touch screen, select System Settings.  A row of tabs will appear; choose the one labeled Tray Paper Settings.

The page of options that you'll see now is for changing paper sizes -- you can disregard these settings unless you have specially-sized paper in one of the trays and you've set the paper dial to the asterisk (*).  Touch the button in the lower right corner to scroll down to the next page.

Here you will see your paper type settings for your two standard paper trays and your bypass tray, as well as any additional paper trays or large capacity trays you may have installed.  Select the tray you want to change.

The screen that appears gives you all the paper types you can choose from, from plain paper (no display) to cardstock, bond, or recycled paper.  These choices will show up on the main Copy screen, so you can see what kind of paper is loaded in each tray, but they can also help the copier run better if it knows what it's looking for.  Using darkly-colored paper, for example, may result in jams if the copier thinks it's looking for white paper to pass through and it doesn't see it.

If the paper you are using is very thick and doesn't bend easily, you may want to disable duplex copying from that tray, so that no one uses it by accident.  Trying to run double-sided copies on very thick paper often doesn't work because the paper can't make the turns necessary to go through the duplex unit.

Once you've made your selections, press the OK button to save the changes.  When you exit out to the main Copy screen, the tray you changed should display the paper type below the paper size.

If you are using the copier as a printer too, you'll have to make the same paper type selections in the printer driver, otherwise you'll get a paper mismatch error every time you try to print from that tray.


(Originally posted on Helium.com, 2010)
(Image by Oliver Kugland from Pixabay)

Tuesday, January 2, 2024

How to find the MAC address of a Ricoh Image Scanner IS200e

Ricoh Image Scanner IS200e

On network-connected printers and copiers, you can typically print out a configuration page which shows useful network information -- IP address, effective protocols, MAC address, etc.  But dedicated scanners don't have that option.

On a Ricoh IS200e scanner, you'll have to navigate the menus to view network information on-screen.  Follow the steps below to find the MAC address of an IS200e.

  • Press the User Tools button on the operation panel.
  • Press 1 to select "System Settings."
  • Scroll down through the menu using the button below the on-screen down arrow until you get to "9. MAC Address."
  • Press the button below the "Settings" option.
  • The MAC address will be displayed.
  • Press the User Tools button again to exit out of the menu.

🛈 The System Settings menu can also be used to display other network configuration settings, including the scanner's IP address.


(Originally published on Helium.com, 2012)

Saturday, December 23, 2023

How to make a Magic Chef MCD795SW microwave oven stop beeping


The Magic Chef MCD795SW is a decent microwave, but the beep that it makes every time you press a button (and when it's done cooking) is very loud and high-pitched.  Fortunately, the microwave comes with an easy way to turn the beeping off, which is helpful for using the microwave when people (especially babies) are sleeping.  With the beep turned off, the microwave will run silently, except for the low hum it makes when cooking and the sound of the door opening and closing.

  • On the microwave's keypad, press the Help button (on the left side, next to the Clock button).
  • The display screen will scroll through the available options, but you don't have to wait for them.  Press 3 to get to the beep setting.
  • Once you've chosen the beep submenu, the screen will display the two options: 1 to turn the beep on, or 2 to turn the beep off.  Press 2 and the microwave's beeping will be silenced.  (If you ever unplug the microwave or have a power outage, the beep will be turned back on as the default setting.)

🛈 If the microwave clock has not been set yet, you may not be able to access the help menu. Set the clock first (or press Cancel).

🛈 The microwave's Help menu allows you to do other things as well, such as lock the keypad so that children can't use it, or change the display language from English to Spanish or French.

🛈 These instructions are written specifically for the MCD795SW microwave, but the steps for other Magic Chef models may be similar.


(Originally published on Helium.com, 2011)

Wednesday, December 20, 2023

How to remove the hard drive from a Dell Latitude D610 laptop

Dell Latitude D610 laptop

On desktop computers, removing a hard drive can be a time-intensive procedure.  Typically you have to open the computer's case, disconnect the hard drive's data and power cables, and remove or unscrew the hard drive.  But on a laptop, where everything is smaller and more accessible, removing a hard drive is often much simpler.

To remove the hard drive from a Dell Latitude D610 laptop:

1. Locate the hard drive
With the computer powered off, disconnect all cables, including the AC power cable.  Remove the battery and place it somewhere safe.  (If you need help removing the battery, see this guide for step-by-step instructions: How to remove the battery from a Dell Latitude D610 laptop.)

Close the computer's lid and turn the laptop over so you're looking at the bottom.  You'll see several different panels and many small screws.  As you're looking at the bottom of the computer, with the fan vent in the upper right corner, the hard drive will be located in the lower right corner, next to the battery compartment.  There is a rough rectangular outline to the hard drive bay (about 3" by 5") that you can use to identify where it is.

2. Remove the screws
Two screws secure the hard drive; these are located along the right side of the hard drive bay.  In the lower right corner of the laptop, you'll see a screw that's sunken into the laptop case -- the first hard drive screw is located just above this case screw.  The second screw is located along the right side of the laptop, about three inches above where the first screw was.  Remove both screws using a small Phillips screwdriver, and place them somewhere safe.

3. Remove the hard drive
With the screws out, the hard drive can slide right out of the computer.  There's a ridged panel located along the lower right side of the laptop, between the two screws you just removed.  This panel is connected to the hard drive.  Grip this panel and slide it out of the laptop, to the right.  It may be hard to remove, but if you apply additional force, be sure to slide the panel out straight, rather than at any sort of angle, to avoid damaging the hard drive or laptop.

🛈 While you have the hard drive out, now is a good time to clean out any dust or debris that has built up in the hard drive cavity.  You can blow it out with a can of compressed air or wipe it clean with a lint-free rag.


(Originally published on Helium.com, 2011)